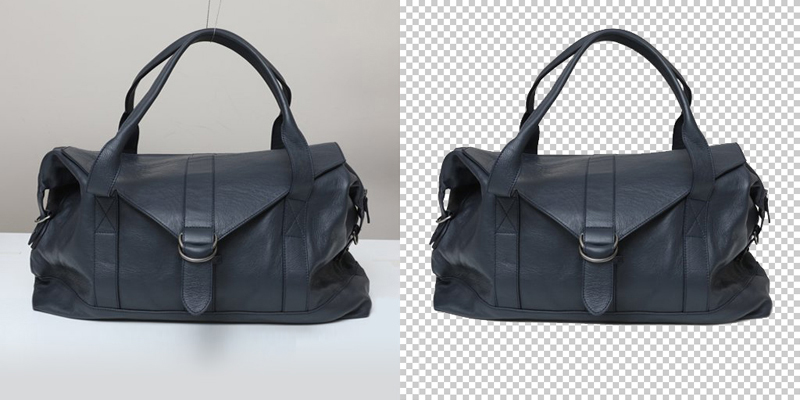
Basic Scenarios to Background Removing?
But why would you need to remove the background from an image? Why would you want to change the background on a photo? Let’s explore possible scenarios.
When we take pictures, we are not always in control of the setting. Sometimes, after we look at the photo, we wish that it was somehow different or wish there was some way to edit the picture and make it look like we want.
Powerpoint presentations are one example for why someone would want to edit a photo background or change the background of a photo. Powerpoint presentations should look sharp and professional as should the photos used in them. With clear and clean graphics, an audience can focus on the content instead of ugly, irrelevant, or distracting backdrops.
Another reason someone may choose to remove an image background or edit the background of a photo is because of sales. When attempting to sell a product online or through a third party’s website, it is essential that the product look beautiful, clean, and free of distraction, as that will increase the seller’s selling possibilities.
How You Remove Background From Image ?
There are several steps on how to change the background of a photo or cut the background out of a picture.
First, you have to determine what method you’re going to use for removing the background. Are you going to seek out a professional team? Use a website? Or use software?
Let’s say you’re going to use software and you’re going to use Photoshop.
In order to edit the picture background, you should follow these seven steps.
- Open the image that you want the background to be removed from.
- Select the “Background Eraser Tool” from the toolbox.
- On the tool options bar, choose an appropriate round, hard brush based on your image.
- On the tool options bar, set the Sampling to Continuous, the limits to Fine Edges and the Tolerance to a low number of about 25 20%.
- Bring the pointer near to the edge of the person or object that you want to remove the background from.
- Click and drag to star erasing.
- Once you’ve erased the whole way around the object, change your settings to a very large brush size to finish off the rest of the background.
