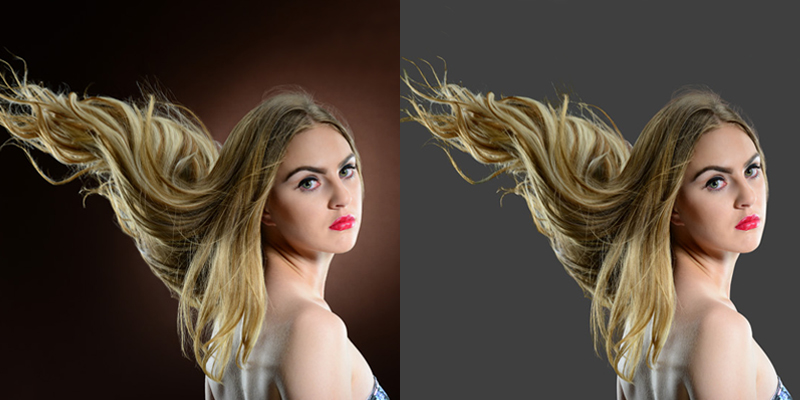
Regardless of what your flash photo masking requirements are, we will be able to help you meet them. The photo masking professionals at our company have expertise in using the latest photo editing technology and software. At Clipping Next, you can be sure of proficient work at cost-effective rates with definitely no compromise on quality.
Layer masking – A layer mask is linked to a layer, hiding part of the layer from the photo. As the layer mask can be both moved and edited around independently of both background layer, along with the layer that it applies to, it will give the user the capability of testing many different combinations of overlay. Our trained and proficient graphic designer team will imply the most updated techniques for photo layering to remove the background from images like fur, hair, or foliage on trees, which eventually results in pointed and even edges looking consistently professional.
At the bottom of the Layers palette, click the “Add Layer Mask” icon to add a mask. One usual technique is using the brush tool for painting out the background of a photo just as you would with the eraser tool.
Channel masking – We are providing photo masking, transparency mask service, layer masking, translucent mode masking, and Alpha channel masking at quick turnaround. Alpha channels masking is a raster masking, mainly in Adobe Photoshop that necessitates Photoshop masking masking techniques with RGB, CMYK, and other different custom channels. Channel alpha masking has been the best-known way of accomplishing clipping masks path for sophisticated photos. It is an ultimately effective and swift method for selecting an object with a reasonable color contrast to the surrounding pixels is creating a masking and loading the mask as a selection.
Photo masking with channels is never an easy task. Masking a photo effectively is both strenuous and time consuming. Our team of hardworking creative artists are putting their heart and souls into every masking task they undertake. The level of difficulty in photo masking will depend on the image to be masked, for fine detailing is necessary.
To use it, switch to channels palette and then toggle between the green, red, and blue layers to find the photo with the most contrast. Drag the channel that you have chosen into the icon, “New Channel” to make a copy. Use the Curves and Levels adjustment tools for boosting the contrast, so as to make the areas that you want to keep black, along with the areas that you desire to ditch white. You need to be careful not to go too far, or you will end up with dirty edges.
